Managing the Subscribers List in the Email Marketing App
Last updated on March 20, 2025
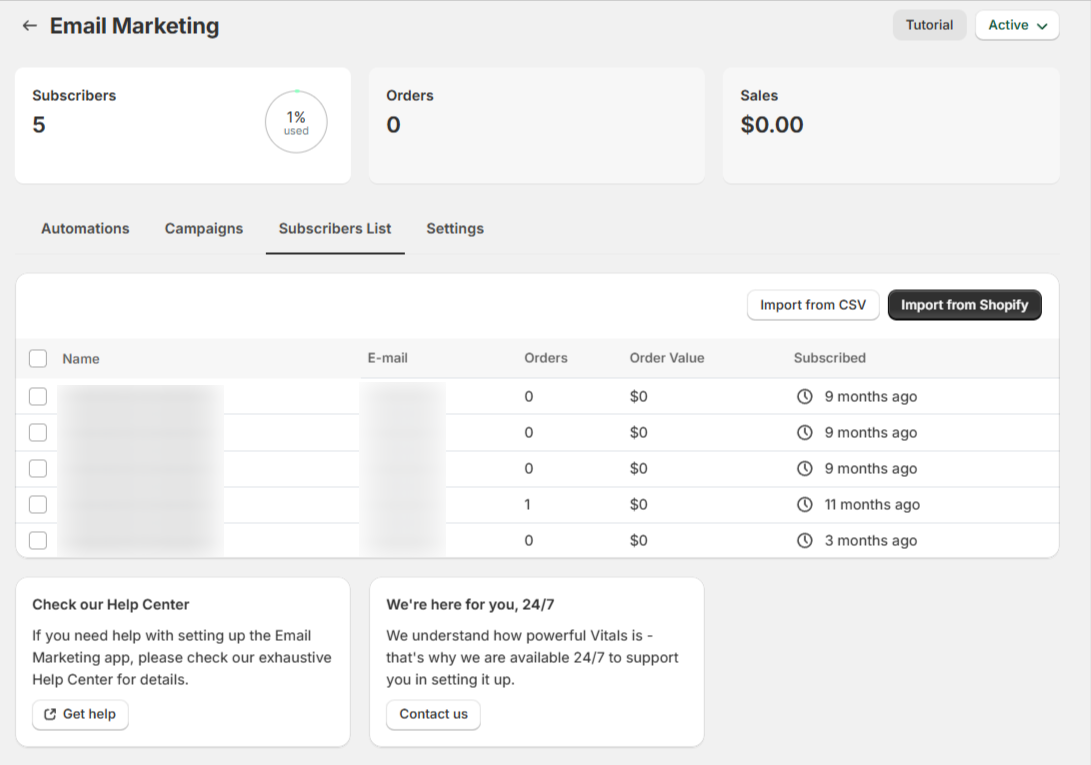
The Subscribers List contains all the email contacts available for marketing campaigns.
How Are Subscribers Added?
- When the Email Marketing app is enabled, new users who opt-in for marketing emails are automatically added to the list upon account creation.
- Importing from Shopify
- Click the "Import from Shopify" button to sync contacts from Shopify Admin > Customers.
- Refresh the page after ~1 minute to see the updated list.
- Importing from a CSV File
- Click "Import from CSV" to upload an external contact list.
- Only upload contacts who have explicitly agreed to receive marketing emails.
🚨 Note:
- Hard bounces (invalid email addresses) and unsubscribed users are automatically removed from the list.
- Hard bounces occur due to permanent issues, such as:
- Non-existent email addresses
- Invalid email formats
CSV File Requirements
📌 Mandatory Formatting Rules:
✔ The CSV file must use comma separators (,).
✔ The column headers must be exactly as follows (case-sensitive!):

✔ Only the "Email" column is mandatory; other fields are optional.
✔ The order of columns doesn’t matter.
✔ If you exceed the allowed contact limit, only the first valid contacts will be imported.
⚠ Mac Users:
- MacOS Numbers may export CSV files incorrectly (with
;instead of,). - Solution: Use Google Sheets or Microsoft Excel for correct formatting.
🔗 Need an example? Download a sample CSV file [here].
Need Assistance?
If you encounter any issues while managing your subscribers, feel free to contact our support team for help! 😊